2 Installation
Warning
If this is the very first time you are installing Triofox server, it is recommended that you do the all-in-one installation by preparing a clean Windows 2012 R2/2016/2019 virtual machine and installing with all the default parameters. The All-in-one deployment is the smallest fully functional setup and can be used for production environment with < 1000 users.
Step 1: Prepare the File Storage
Triofox server is about to cloudify your file storage and enable remote and mobile access, with sync and share capability. So, the first question is: What is your file storage solution?
Your file storage can be a Windows File Server network share or any storage devices that supports CIFS/SMB protocol. It can also be from iSCSI devices that you can mount storage directly as a drive letter in the Triofox server. It can also be a container inside a private instance of OpenStack Swift, a bucket in Amazon S3 compatible storage, or a container from Windows Azure blob storage. You will need the basic access information ready. For example,
Windows File Server
If it is a Windows File Server, you will need the UNC path to the network share and the user credentials for accessing the folder.
If it is from a local C: drive or local D: drive, you will need a local user credential that has full permission to the local folder.
OpenStack Swift
If it is OpenStack Swift, you will need the authentication URL and credentials and understand the version of your authentication setup, such as KeyStone V2 or KeyStone V3 or just the classic authentication.
Amazon S3
If it is Amazon S3, you will need the Access Key and Secret Key and a Bucket Name. If the Access Key and Secret Key is from an IAM user, you will need to make sure the IAM user has full permission to the bucket.
Windows Azure Blob Storage
You will need the “Storage Account Name” and the “Primary Key” and a container name.
Note
The initial deployment of Triofox configures the back end storage to use the C:\Triofox directory on the Triofox server. This default back end storage location can be changed to another location at a later time by modifying the back end storage of the default server.
Step 2: Prepare Active Directory (Optional)
If you are integrating Active Directory, you will need the following information:
The DNS name (or IP address) of an Active Directory Domain Controller.
A service account that can access the Active Directory.
The DNS name of the Active Directory Domain.
Note
If your Active Directory is remotely located with regard to the Triofox Server, then you should use Server Agent software to connect the Active Directory instead of using LDAP to connect Active Directory.
Step 3: Prepare the Database Server
Note
If you are installing the all-in-one instance, you can skip this step because the all-in-one installer will install a MySQL Community Edition and configure the database accordingly. See Step 5: Start Installation below for more about the all-in-one installation.
This step is only for installation that has a separate database node which is not installed by default with any worker node.
All Triofox servers in a cluster will share one single centralized database.
Warning
For Triofox, the default database engine for the “all in one” deployment is MySQL Community Edition.
There are two places that store persistent information. The first place is the File Storage mentioned in Step 1. The second place is the Triofox database. There is configuration information such as user name, team folder, shared folder, login token in the database. There is also runtime information such as audit trace and file change log in the database.
The default Triofox deployment utilizes a MySQL local database on the Triofox Server. We provide this option to allow the trial installation to be as simple as possible.
Currently Triofox supports MySQL or Microsoft SQL Server Database Management Systems (DBMS). Some good reasons for deploying an external database server are performance, scalability and/or high availability.
Microsoft SQL Server
If you are using an external Microsoft SQL Server as opposed to the default MySQL all-in-one deployment, then you must ensure the SQL Server Authentication is configured for Mixed Mode Authentication. The Triofox Server connection requires the use of a SQL account, not a Windows integrated authentication account.
During the setup of the first worker node, the installer will need to create a database, create tables inside the database and create stored procedures in the database. Therefore, it requires a SQL security account that has enough privileges for the installation.
If the database server is external to the Triofox server, make sure TCP protocol is enabled and firewall is opened to accept SQL connections. Default TCP port is 1433 and that port needs to be opened on firewall. If you have SQL Server listening on a different port, that port will need to be opened as well.
MySQL Server
MySQL typically listens on TCP port 3306. Make sure this port is opened on the firewall.
Step 4: Prepare the Triofox Server
The easiest way to prepare the Triofox server is to have a clean Windows Server 2012/R2/2016/2019 OS with English locale and make sure the worker nodes are all in the same time zone.
We recommend Windows server 2019 or Windows server 2016 as a preferred server OS running on a virtual machine.
Supported Operating Systems
Windows Server 2008 R2 with latest updates
Windows Server 2012
Windows Server 2012 R2
Windows Server 2016
Windows Server 2019
Supported CPU
64-bit Intel or AMD x64 architecture
2 - virtual CPUs minimum (4 - virtual CPUs or more are recommended)
Memory
8GB RAM minimum (16 GB or more is preferred)
Hard Disk space
100 GB minimum, preferably SSD. This assumes back end file storage is not located on the Triofox server itself.
Step 5: Start Installation
You can get the Triofox installation package from the Triofox partner portal (by login to http://www.Triofox.com) and get to the Private Triofox section.
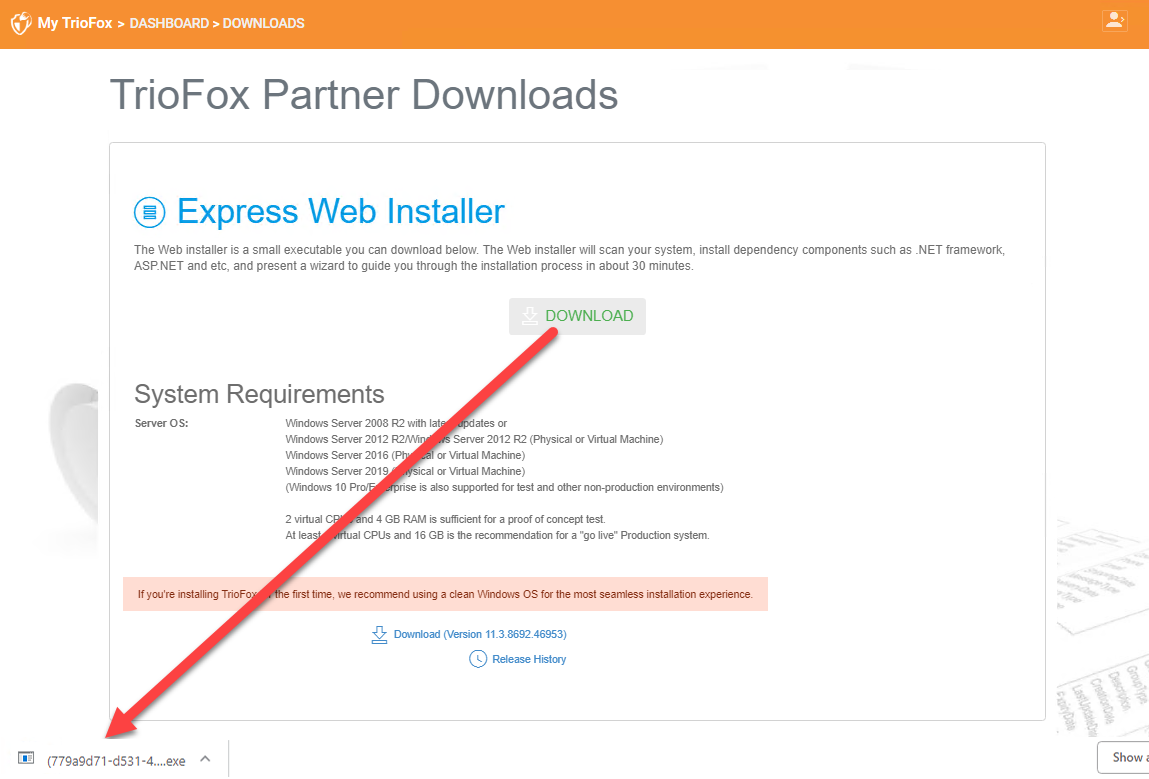
Sign into the Triofox server console (RDP or physical console are fine) with administrator rights. Once you click the “Download” button on the Partner Portal, the installer will appear either in downloads or as a link at the bottom of your browser. Click the executable file to begin the installation.
You will see the welcome screen.

Click ‘Next’
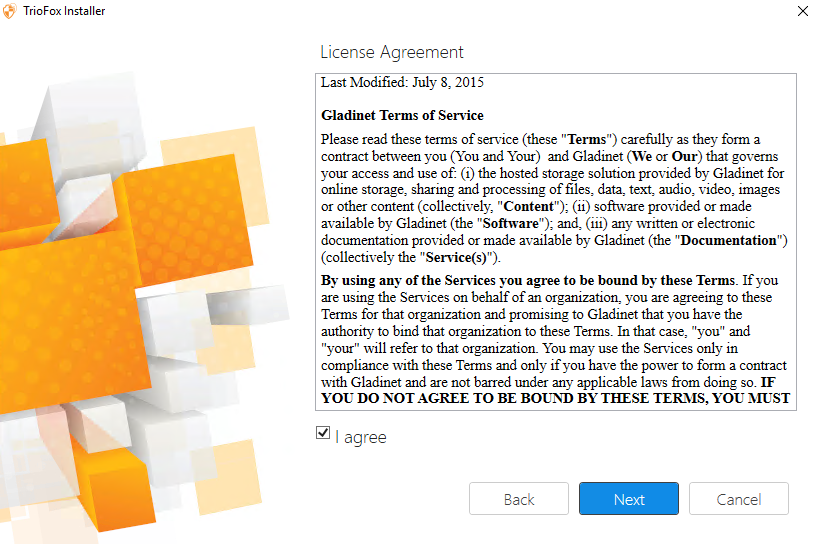
And accept the EULA and click Next.
Select the path you wish to install Triofox to.
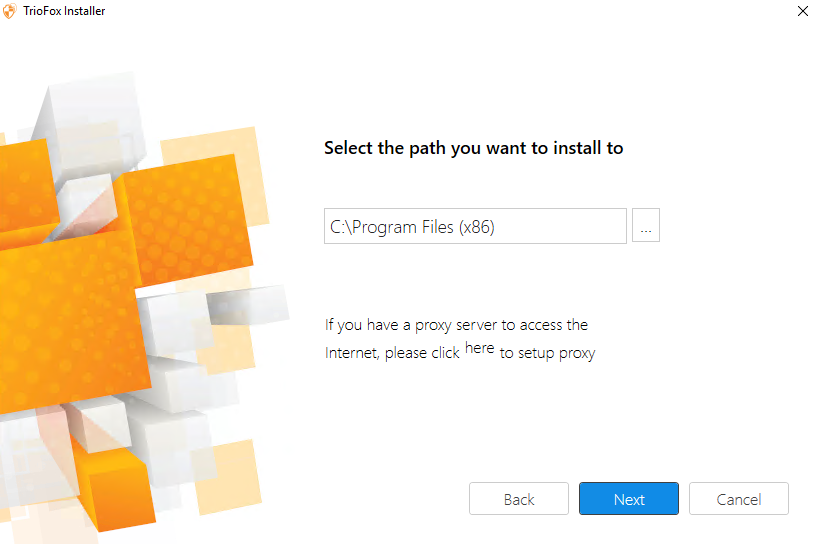
Then click Install.
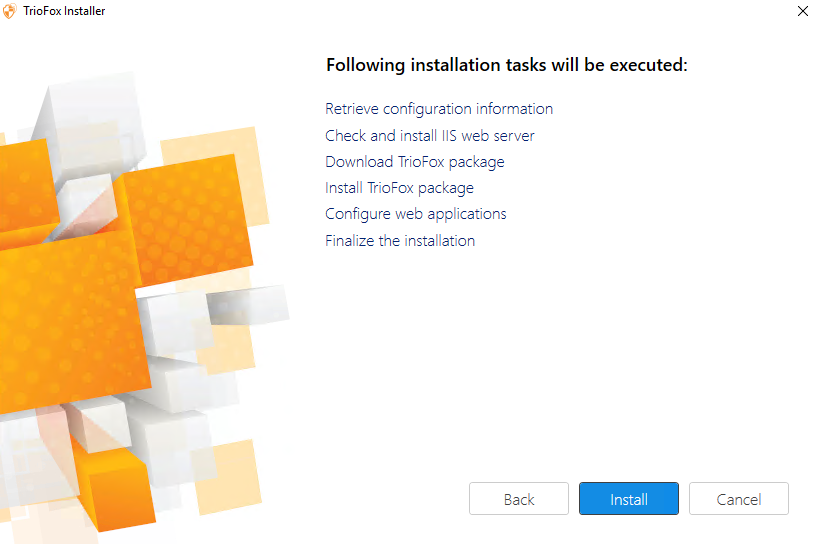
Triofox will install and then you will need to restart your system to complete the installation.
When your server reboots it will be configuring Triofox in the background, and will launch a web browser with the next steps to setup your Triofox instance.
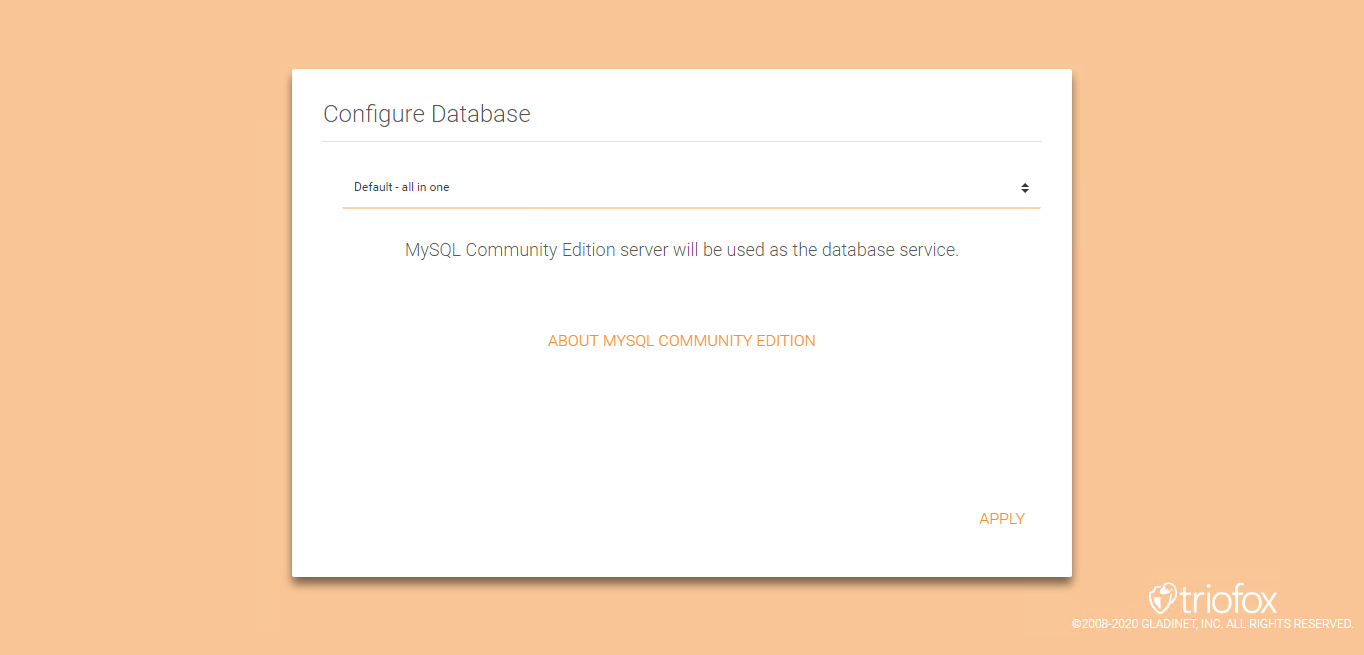
For the next screen, if you have an existing database use the pull-down menu to select a different option otherwise use the default which will also install the MySQL Community Edition database.
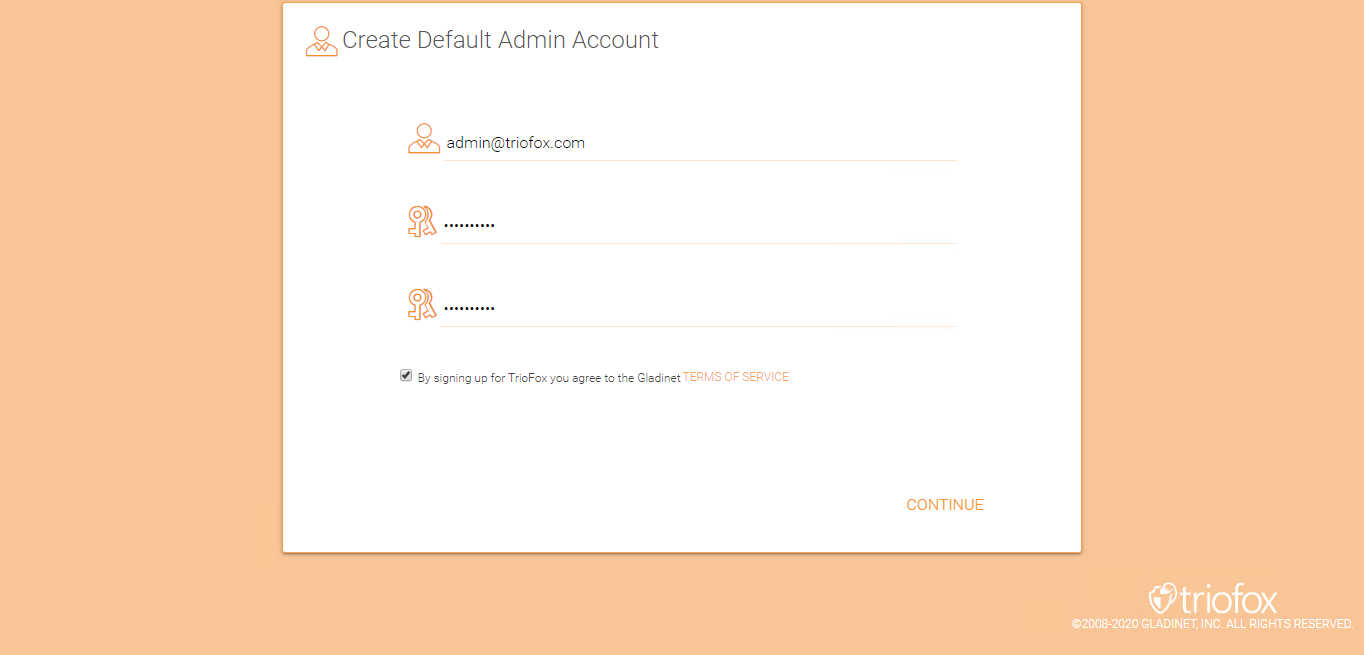
In the next screen, enter your Partner Account login credentials and click Apply.
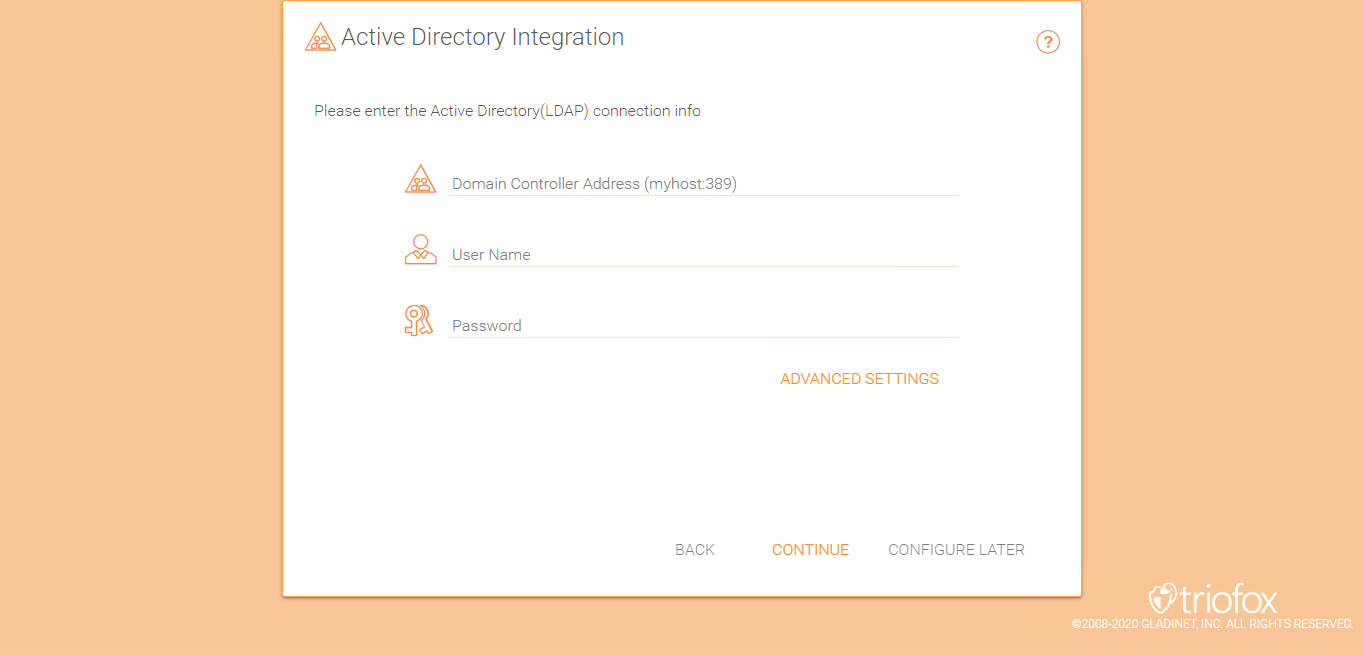
Then you will be able to enter your Active Directory information or opt to Configure Later.
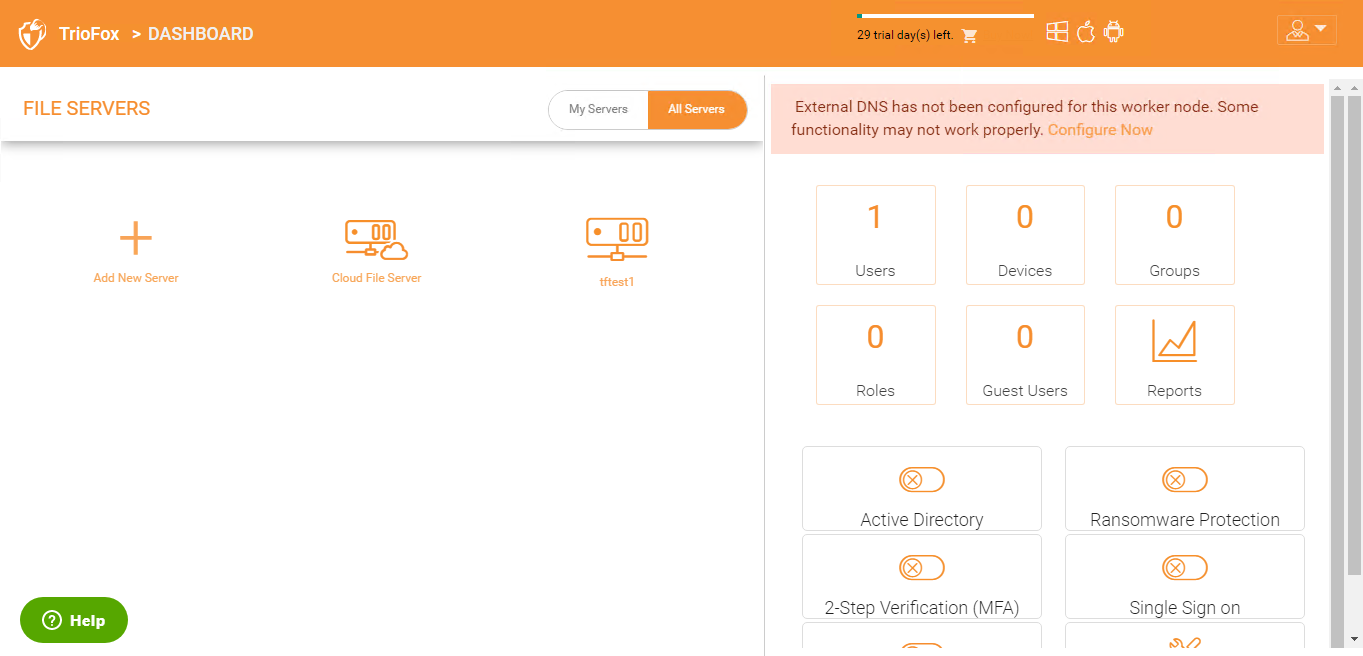
You will then be taken to the Triofox Dashboard.